Sparkle EVERY MOMENT

Mocha Mousse Magic: 2025’s Hottest Nail Color Reimagined for Winter
We’re highlighting Pantone’s 2025 Color of the Year, Mocha Mousse, and transforming this warm brown for winter with cozy, festive, and bold nail designs. From chrome accents to velvet finishes and snowflake decals, discover how to make Mocha Mousse shine this season. Plus, get DIY tips to recreate these looks at home, tapping into Pinterest’s love for earthy tones. Let’s dive in!
Design 1: Mocha Mousse with Chrome Accents
First up, let’s talk chrome—a trend that’s dominating nail art in 2025. The reflective, futuristic finish of chrome polish adds a touch of glamour to Mocha Mousse’s earthy base, creating a manicure that’s both cozy and cutting-edge. Imagine your nails glistening like frosted windowpanes, catching the light with every move.
How to DIY It:
1. Start with a base coat to protect your nails, then apply two coats of a Mocha Mousse-inspired polish (look for shades like OPI’s “Chocolate Moose” or Essie’s “Mochachino” if you don’t have the exact Pantone match).
2. Once dry, grab a chrome powder in silver, gold, or even rose gold—whichever vibe you’re feeling. Use a sponge applicator to buff the powder over the polish until you get that mirror-like shine.
3. For a winter twist, try a gradient effect: apply the chrome to just the tips or create a subtle fade from the cuticle.
4. Seal it with a glossy topcoat to lock in the shine and protect your design.
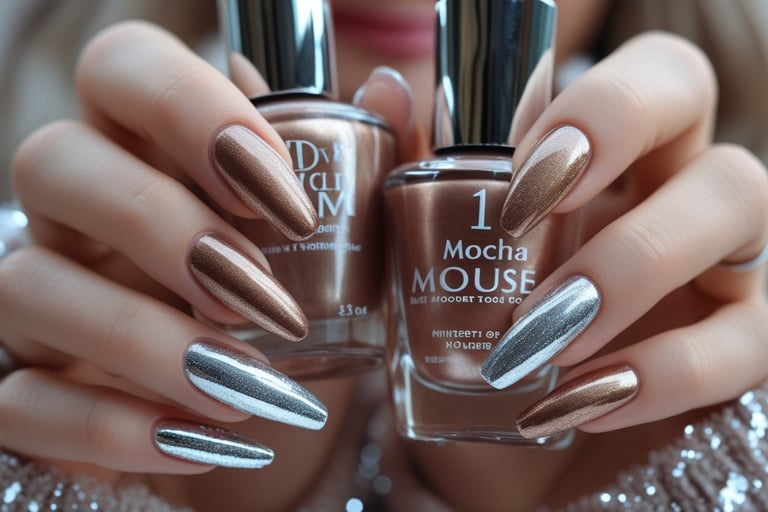
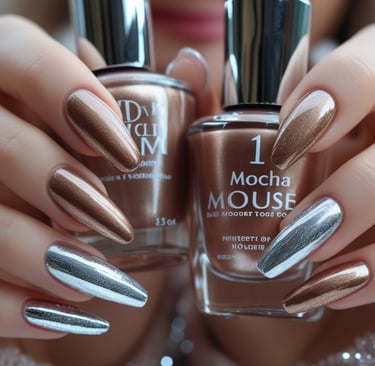
Why It Works for Winter: The chrome accents mimic the gleam of snow under sunlight, while Mocha Mousse keeps things warm and grounded. It’s a perfect blend of seasonal sparkle and cozy comfort, and Pinterest users are loving this high-contrast look for 2025.
Some recommendations for this finish : COSMOO Light Coffee Nail Polish
Design 2: Velvet Mocha Magic
Next, let’s lean into texture with a velvet finish—a plush, matte effect that’s taking over nail trends this year. Velvet nails feel like wrapping your fingertips in a soft, fuzzy blanket, making them an ideal match for Mocha Mousse’s cozy essence. The subtle shimmer of velvet polish catches the light without overpowering the base color, giving you a manicure that’s understated yet luxurious.
How to DIY It:
1. Apply your Mocha Mousse base color and let it dry completely.
2. Use a magnetic velvet nail polish (like ILNP’s magnetic shades) in a complementary tone—think a slightly darker cocoa or a shimmering taupe. Paint it on, then hover the magnet tool over each nail (without touching) for 10-15 seconds to create that velvety, cat-eye effect.
3. For a festive touch, add a single accent nail with a dusting of fine iridescent glitter to mimic falling snow.
4. Skip the topcoat here—velvet nails shine best with their natural matte texture.
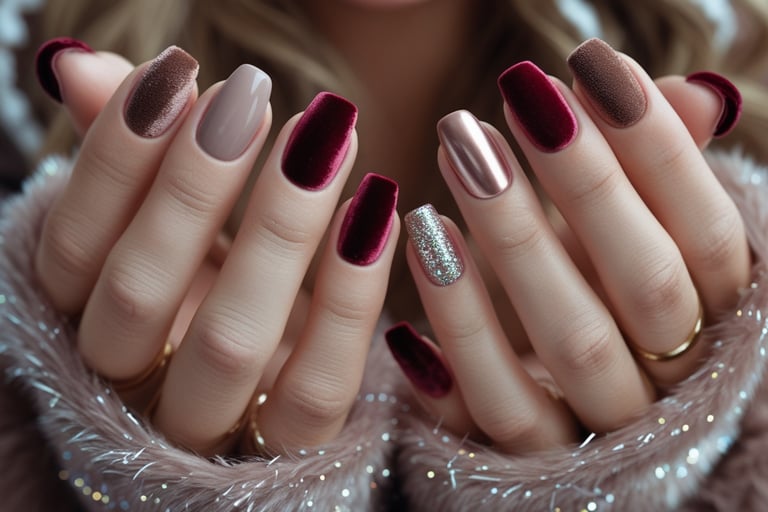
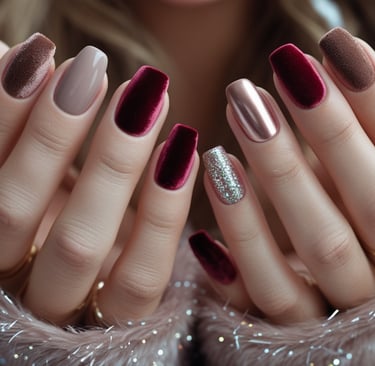
Why It Works for Winter: The tactile, snuggly vibe of velvet paired with Mocha Mousse feels like a warm hug on a cold day. Pinterest boards are buzzing with this trend, especially in earthy tones, making it a must-try for your winter nail lineup.
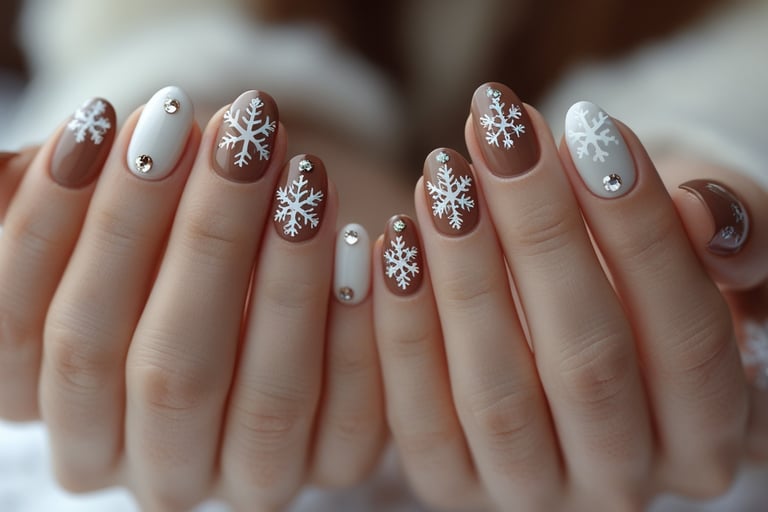
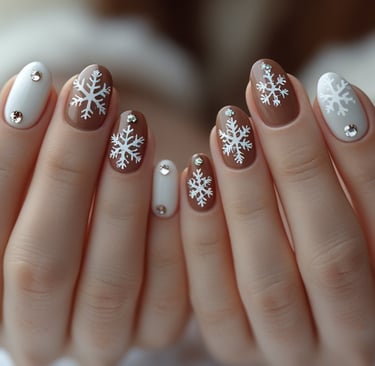
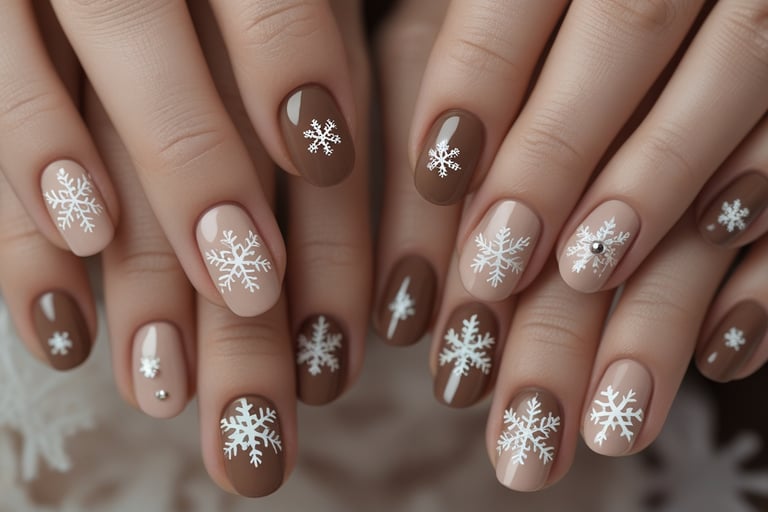
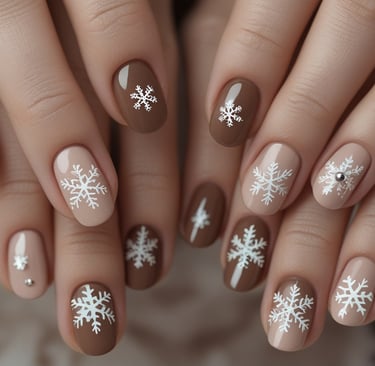
Design 3: Subtle Snowflake Decals on Mocha Mousse
No winter manicure is complete without a nod to the season’s iconic imagery—snowflakes! But we’re keeping it subtle and chic with delicate decals over a Mocha Mousse base. This design blends festive cheer with sophisticated simplicity, perfect for those who want holiday spirit without going over the top.
How to DIY It:
1. Paint your nails with two coats of Mocha Mousse polish and let them dry.
2. Grab some snowflake nail decals (you can find these on Amazon or at craft stores) or use a fine nail art brush with white polish to hand-draw tiny snowflakes. Keep them small and sparse—less is more here.
3. For extra flair, add a single rhinestone or micro pearl at the center of one snowflake per hand.
4. Finish with a glossy topcoat to seal the decals and add a touch of shine.
Why It Works for Winter: The warm brown backdrop makes the white snowflakes pop without feeling too stark, creating a balanced, elegant look. Pinterest’s love for minimal yet seasonal nail art makes this a standout choice for 2025.
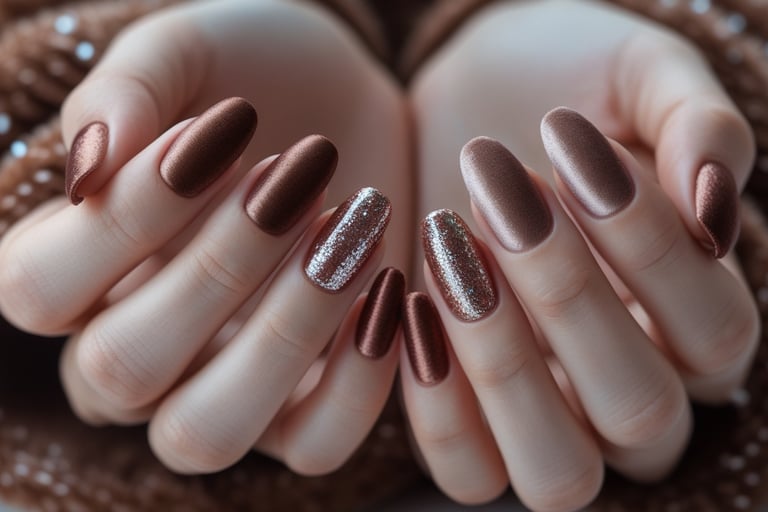
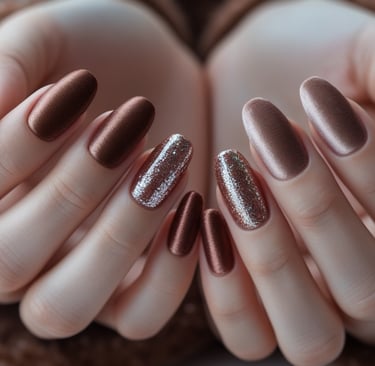
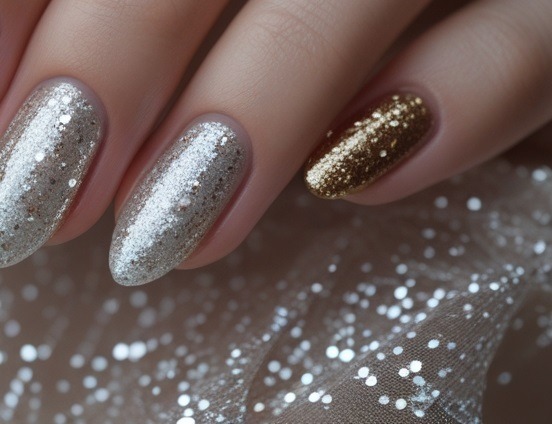
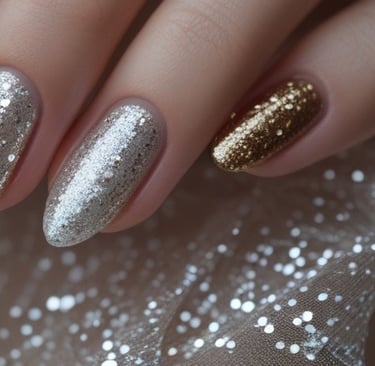
Design 4: Mocha Mousse with Glitter Layers
If you’re all about sparkle, this one’s for you. Layering Mocha Mousse with glitter transforms it into a festive masterpiece that’s perfect for holiday parties. The key is to keep it intentional—think controlled sparkle rather than a glitter explosion.
How to DIY It:
1. Apply your Mocha Mousse base and let it cure fully.
2. Pick a glitter polish—gold for warmth, silver for an icy vibe, or iridescent for a magical glow. Use a sponge to dab the glitter onto the tips for an ombré effect, or apply it sparingly across the nail for a scattered-star look.
3. Want a pro tip? Mix loose glitter into a clear polish and brush it on for a custom sparkle density.
4. Seal with a topcoat to smooth out the texture and boost durability.
Why It Works for Winter: Glitter screams celebration, and when paired with Mocha Mousse, it feels like twinkling lights against a cozy night sky. Pinterest’s obsession with sparkly, gradient nails ensures this design will turn heads all season long.
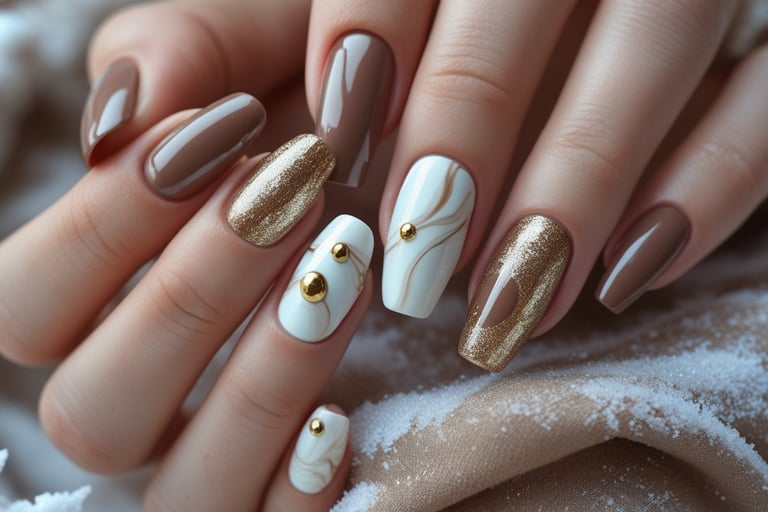
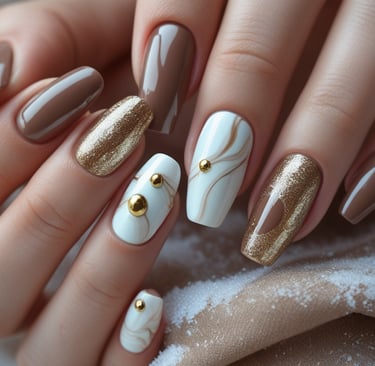
Design 5: Marbled Mocha with Blooming Gel
For the ultimate artistic twist, let’s play with blooming gel—a 2025 nail art game-changer. This technique creates a marbled, watercolor-like effect that’s both mesmerizing and easy to achieve. Paired with Mocha Mousse, it’s a fresh take on winter nail art that feels organic and bold.
How to DIY It:
1. Start with a clear base coat, then apply a thin layer of blooming gel (available from brands like Gelish or Beetles). Don’t cure it yet!
2. Drop small dots of Mocha Mousse polish, plus a white or gold shade, onto the wet blooming gel. Watch as the colors spread and blend into a marbled pattern—use a nail art brush to guide the design if needed.
3. Once you’re happy with the look, cure it under a UV/LED lamp, then finish with a glossy topcoat.
4. For a winter vibe, add a matte topcoat instead—it softens the marble effect and feels ultra-modern.
Why It Works for Winter: The swirling, earthy tones of Mocha Mousse paired with blooming gel mimic the natural beauty of snow-dusted landscapes. Pinterest users are raving about this abstract, DIY-friendly trend, making it a perfect fit for your innovative nail game.
Tips to Make Your Mocha Mousse Manicure Last
Winter nails need to withstand dry air, gloves, and holiday chaos, so here’s how to keep your Mocha Mousse magic intact:
- Prep is Key: File your nails into your preferred shape (almond and coffin are trending hard on Pinterest) and push back cuticles for a clean canvas.
- Layer Smart: Always use a base coat to prevent staining—Mocha Mousse’s rich pigment can cling to bare nails.
- Seal the Deal: A quality topcoat (glossy or matte, depending on your vibe) adds longevity and protects embellishments like decals or glitter.
- Moisturize: Keep your hands and cuticles hydrated with a rich cream or oil—dry skin can make even the prettiest mani look lackluster.