20 Festive Christmas Nail Designs to Make Your Holidays Sparkle and Shine!
Christmas nail art is a fantastic way to express your festive spirit and add a touch of holiday cheer to your look. Whether you prefer classic designs or something more whimsical, there’s a Christmas nail idea for everyone. So gather your polishes, get creative, and let your nails shine this holiday season.
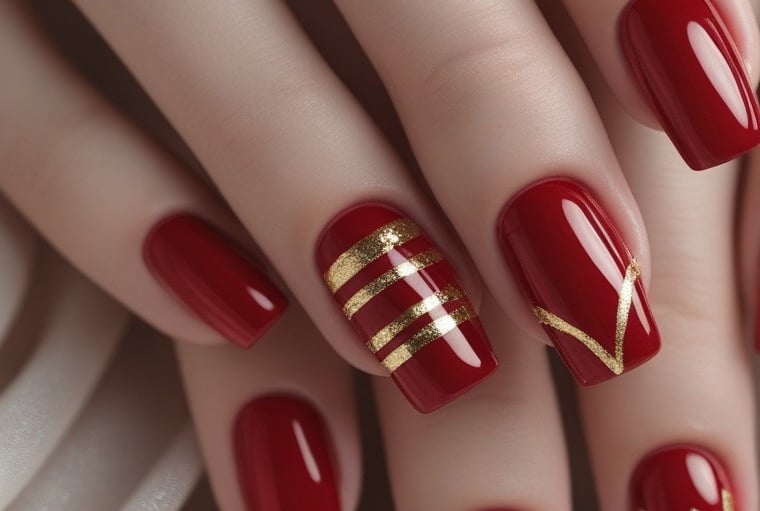
1. Festive Red and Gold
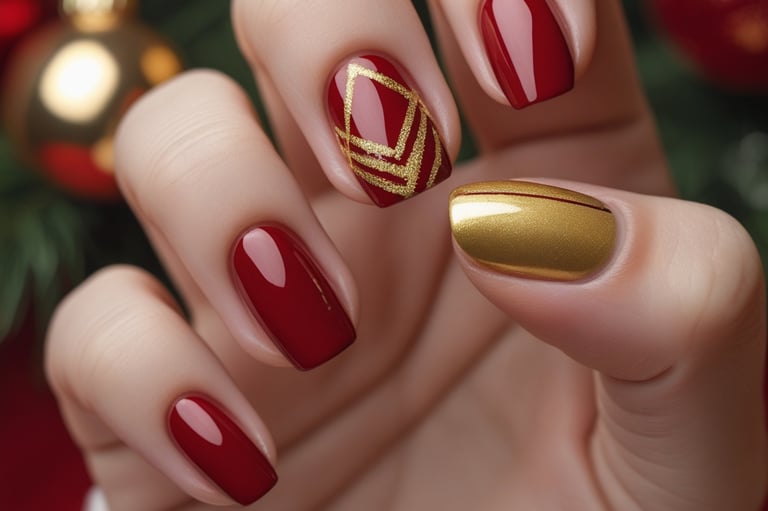
Bring some festive elegance to your nails with this classic combination. The richness of red paired with the opulence of gold makes for a timeless holiday look.
Base Color: Start with a rich red base coat to set a festive foundation.
Gold Accent: Use a gold nail polish to create elegant lines or patterns over the red base.
Top Coat: Finish with a glossy top coat to seal in the design and add extra shine.

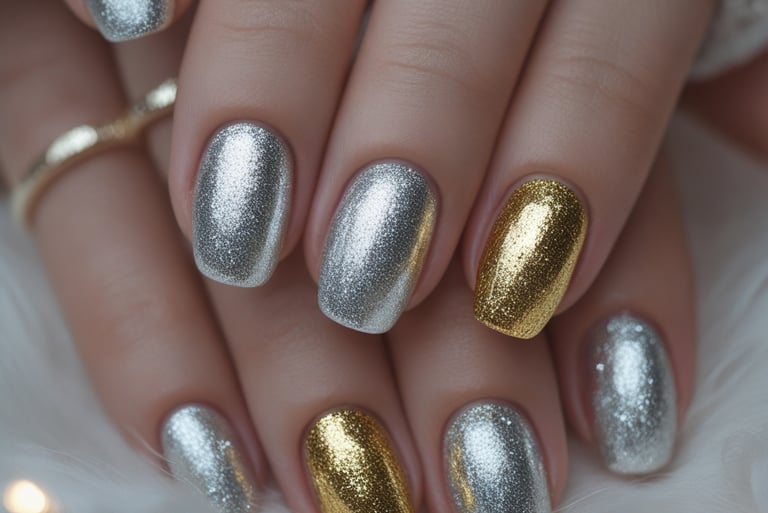
2. Glittery Gold and Silver
Add some sparkle to your holiday with gold and silver glitter nails. These colors complement each other beautifully and are perfect for festive celebrations.
Base Color: Apply a silver base coat for a shimmering start.
Gold Glitter: Add gold glitter to the tips or as an accent on each nail.
Top Coat: Use a clear top coat to secure the glitter and enhance the sparkle.

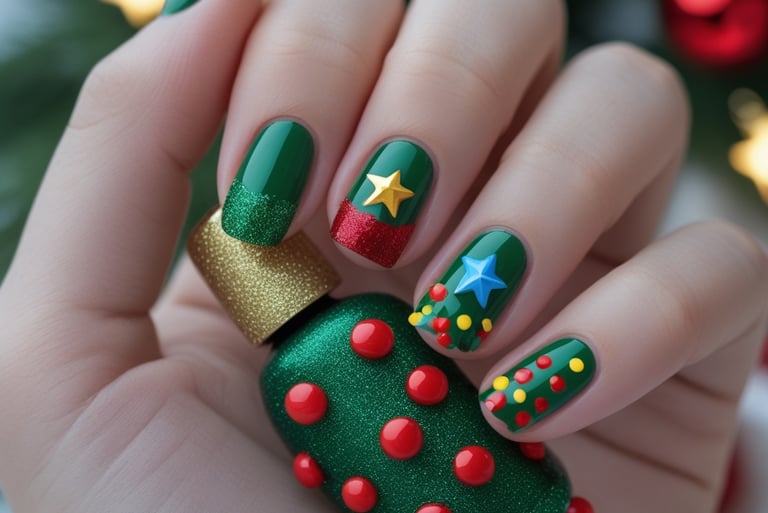
3. Christmas Tree Accents
Nothing says Christmas like a beautifully decorated tree. This nail design brings the festive centerpiece right to your fingertips.
Base Color: Choose a green base coat to represent the Christmas tree.
Decorations: Use red, yellow, and blue dots to mimic ornaments. Add a tiny star on top with gold polish.
Top Coat: Apply a glossy top coat to protect your design.

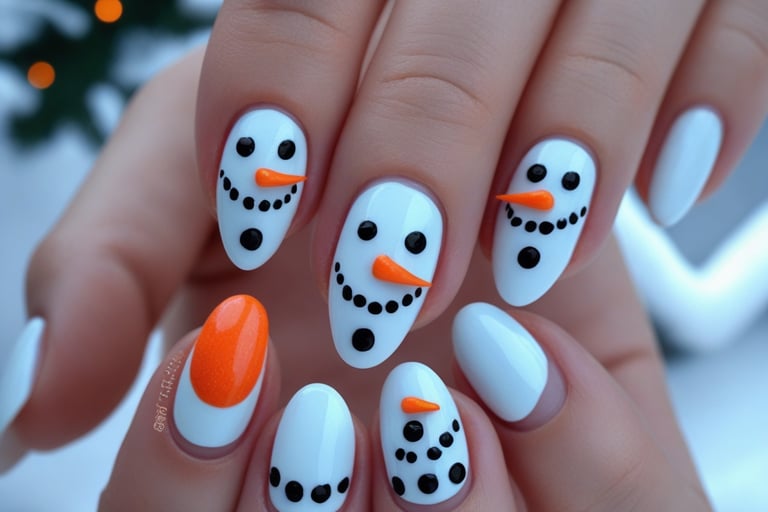
4. Snowman Nail Art
Bring a snowy feel to your nails with adorable snowman designs. They add a whimsical touch to your holiday look.
Base Color: Start with a light blue or white base coat for a snowy effect.
Snowman Details: Use white polish for the snowman's body, black for the hat and buttons, and orange for the carrot nose.
Top Coat: Seal your artwork with a clear top coat
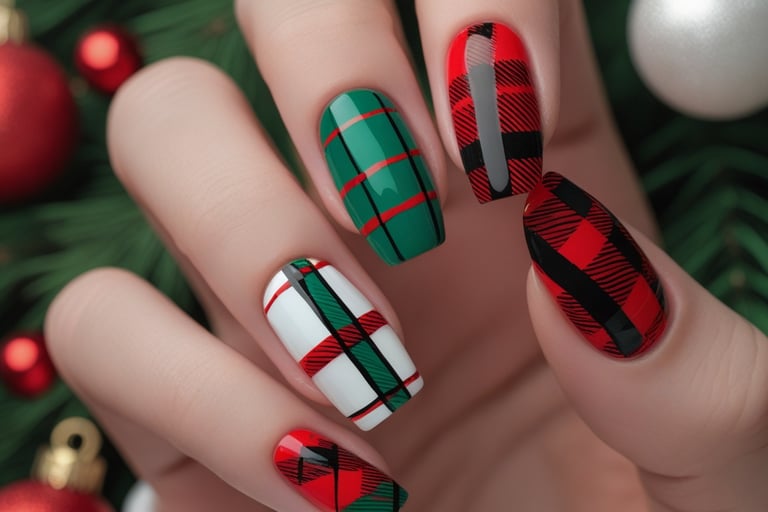
5. Festive Plaid Patterns
Plaid is a cozy and festive pattern perfect for the holidays. This design is chic and pairs well with winter outfits.
Base Color: Opt for a neutral or light base coat.
Plaid Pattern: Use red, green, and black to create plaid lines using a striping brush or nail tape.
Top Coat: Finish with a glossy top coat for a polished look.


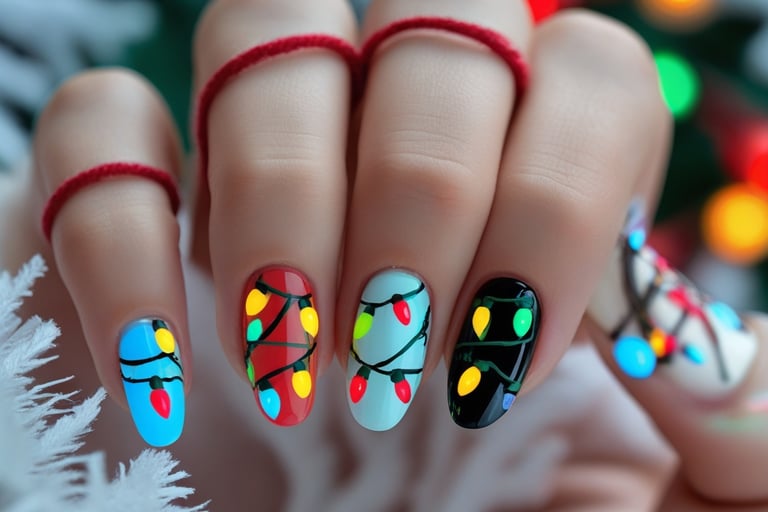
6. Christmas Lights
String some holiday lights across your nails. It's a fun and playful design that brings the holiday spirit to your fingertips.
Base Color: Apply a light-colored base coat like white or light blue.
Lights: Draw a string of lights using black or green for the wire and bright colors for the bulbs.
Top Coat: Secure the design with a clear top coat.

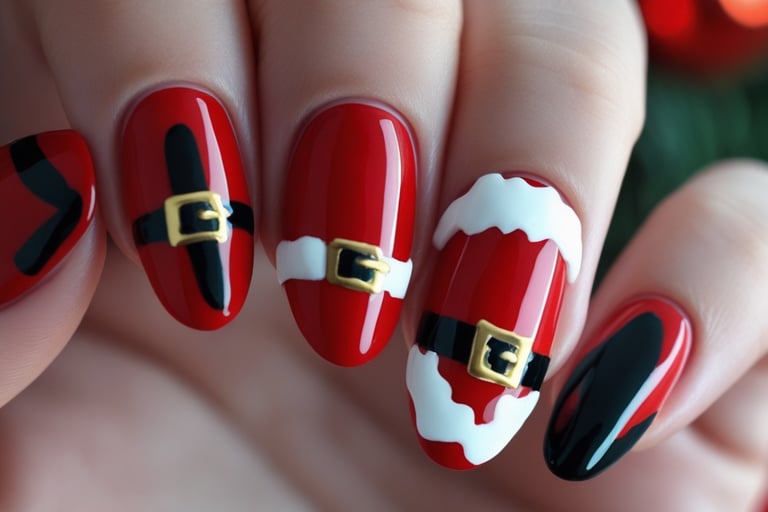
7. Santa Claus Nails
Santa Claus designs are always a hit. This design is festive and fun, perfect for celebrating the season.
Base Color: Use red polish for Santa’s suit.
Details: Add white for the beard and hat trim, and black for the belt.
Top Coat: Use a glossy top coat to add shine and protect your design.

8. Reindeer Designs
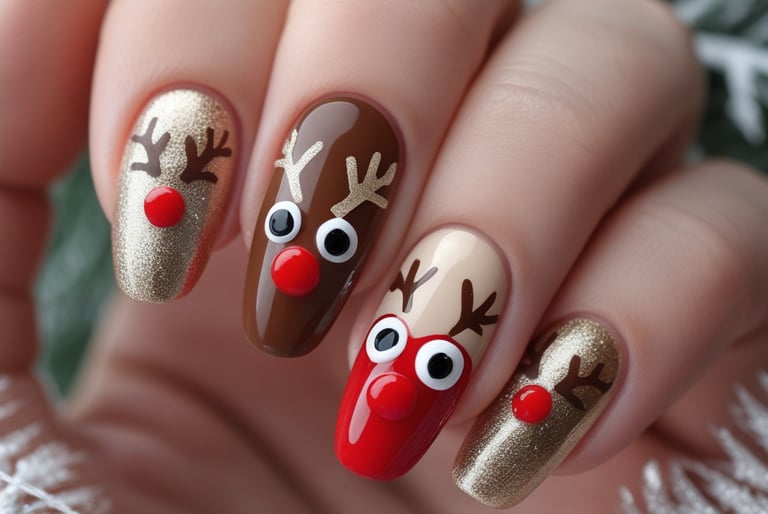
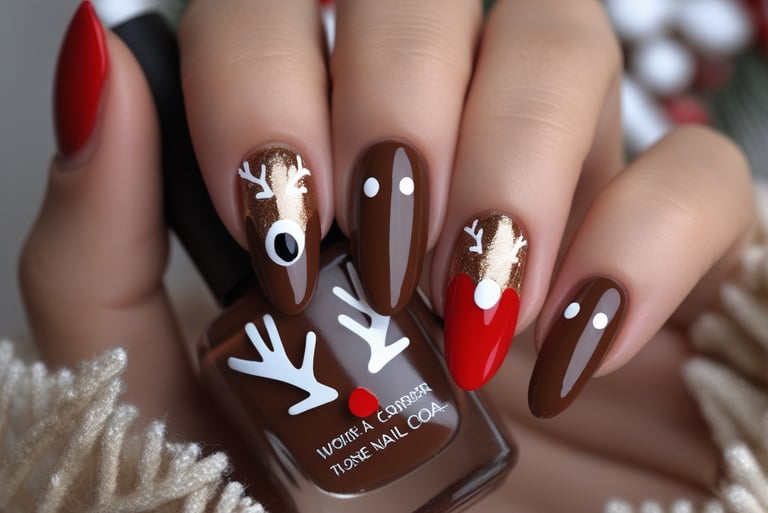
Reindeer nails are adorable and festive. This design brings a whimsical touch to your holiday manicure.
Base Color: Choose a brown base coat to match the reindeer.
Details: Add antlers, eyes, and a red nose using different colors.
Top Coat: Apply a clear top coat to seal your design



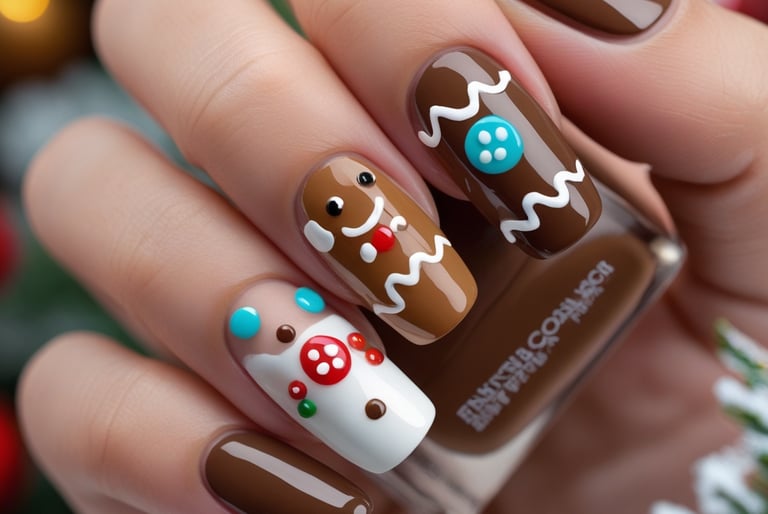
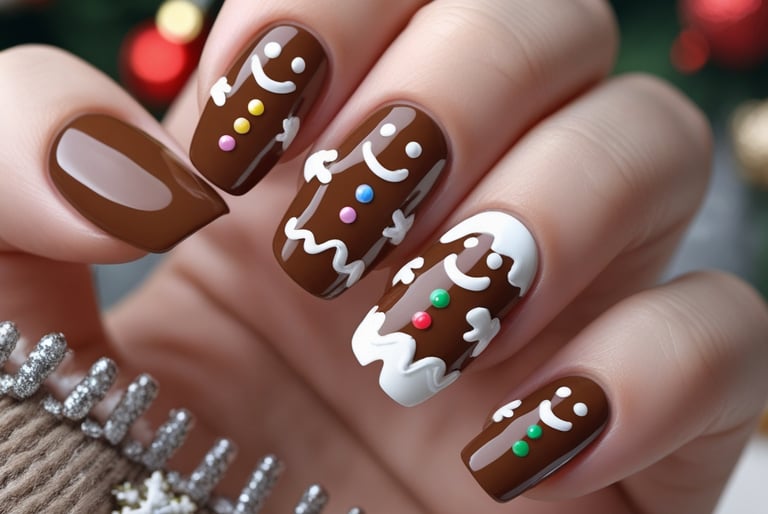
9. Gingerbread Men
10. Festive Stripes
11.Frosty Blue
Gingerbread men are cute and festive. This design adds a playful touch to your holiday nails.
Base Color: Use a light brown base coat.
Details: Draw gingerbread men using brown polish, adding eyes, buttons, and icing with white and colorful polishes.
Top Coat: Seal with a glossy top coat.
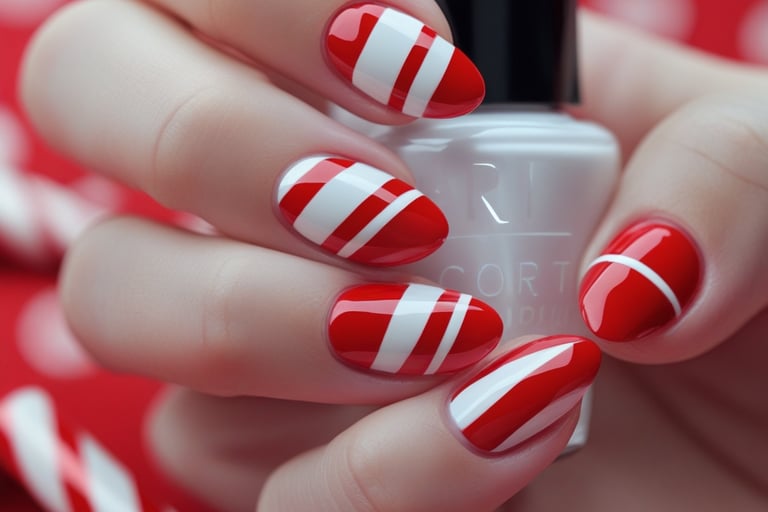
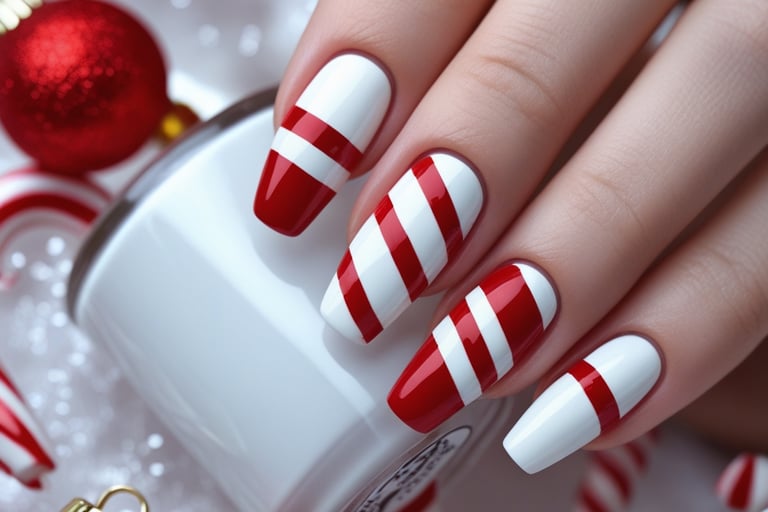
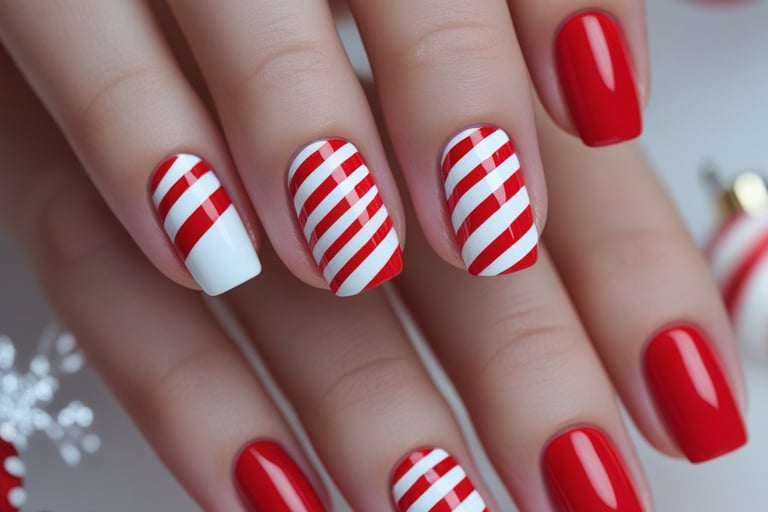
Festive stripes are a simple yet eye-catching design. They mimic the look of candy canes and add a festive touch to your nails.
Base Color: Start with a white base coat.
Striping: Use a red nail art brush or tape to create diagonal stripes with the alternate color.
Top Coat: Finish with a glossy top coat to give your nails a candy-like shine.
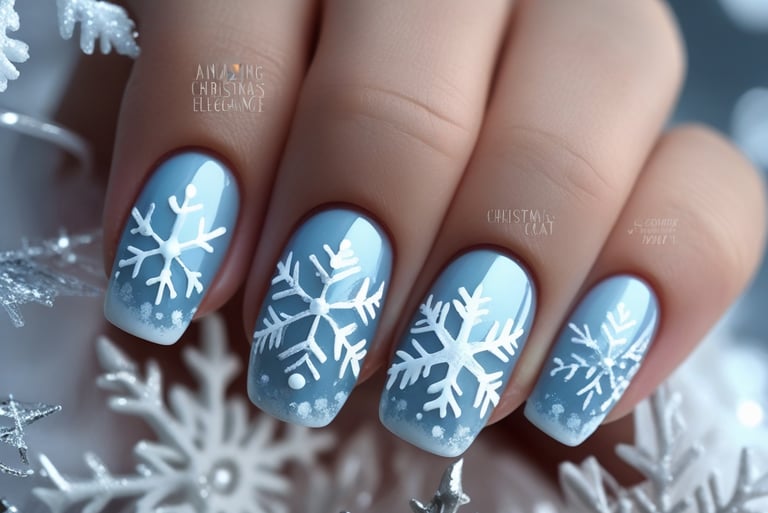
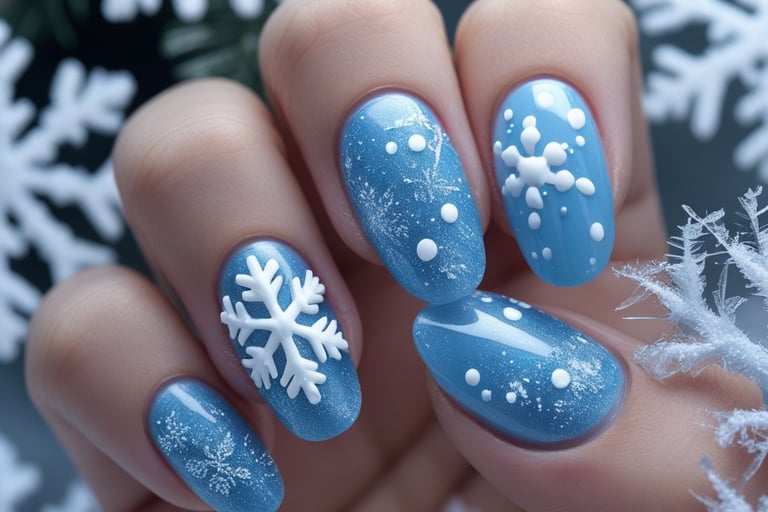
Go for a frosty blue look with icy designs. It’s a cool and elegant design that evokes winter wonderlands.
Base Color: Apply a light blue base coat.
Frosty Accents: Add white snowflakes, dots, and sparkles to mimic frost.
Top Coat: Seal your design with a clear top coat.




12. Festive French Tips
Give your French manicure a festive twist. This design is chic and perfect for the holidays.
Base Color: Apply a nude or clear base coat.
Tips: Use red, green, or glitter polish for the tips.
Top Coat: Seal with a clear top coat for a polished look.

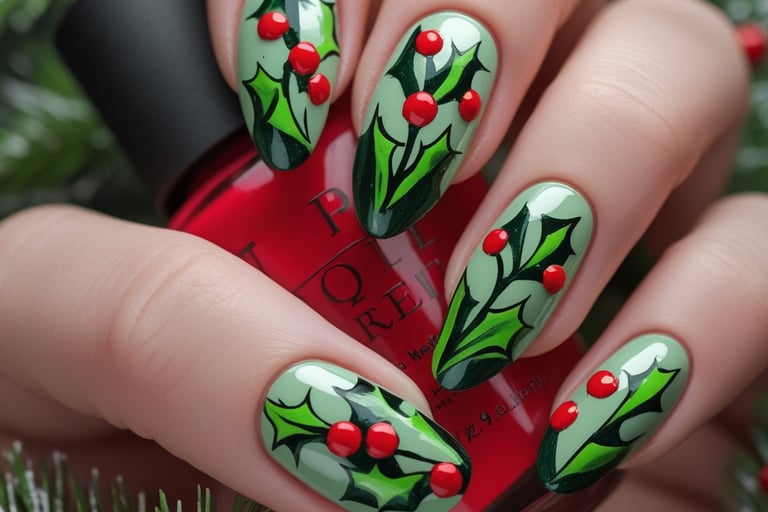
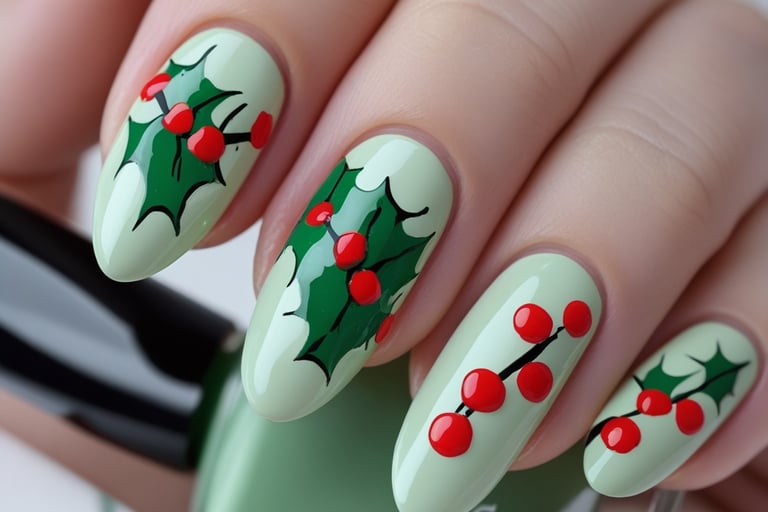
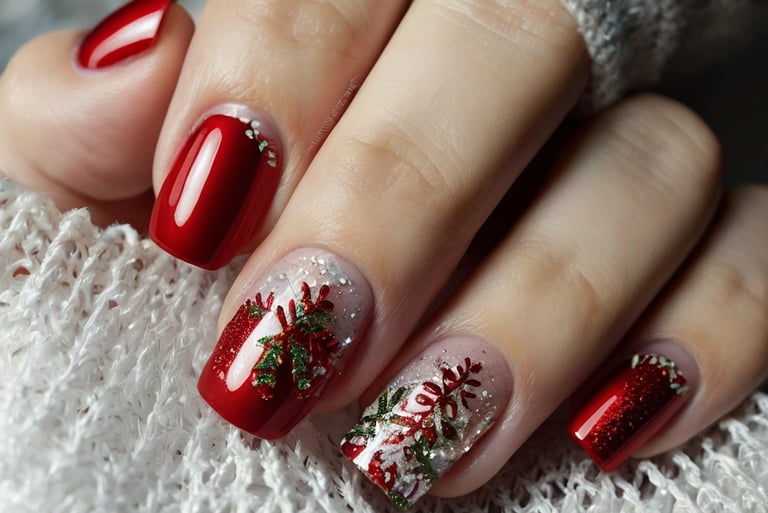
13. Holly and Berries
Paint holly leaves and red berries on your nails for a classic Christmas look. This design is traditional and always in style.
Base Color: Start with a neutral or light green base coat.
Details: Draw holly leaves with green polish and add red dots for berries.
Top Coat: Finish with a clear top coat to protect your design.

14. Snowflake Elegance
Snowflake designs are elegant and wintry. They are perfect for adding a touch of winter magic to your nails.
Base Color: Go for a light blue or white base coat.
Snowflakes: Draw delicate snowflakes using silver or white polish.
Top Coat: Use a glossy top coat for added protection and shine.

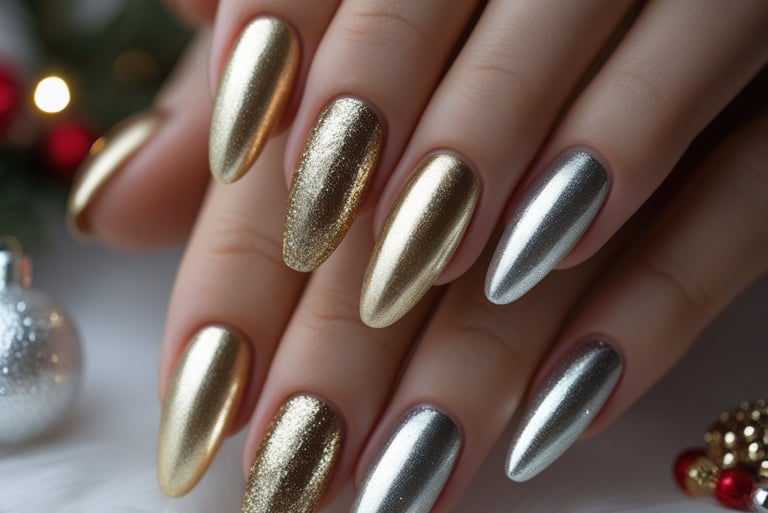
15. Metallic Magic
Metallic nails add a touch of glamour to your holiday look. They’re perfect for holiday parties and gatherings.
Base Color: Choose gold, silver, or bronze polish.
Accents: Add some shimmer or shine with metallic accents.
Top Coat: Use a glossy top coat to enhance the metallic finish.

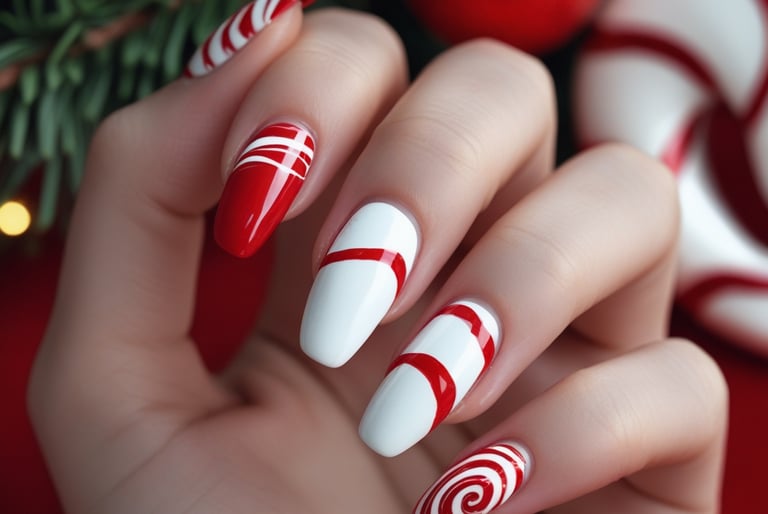
16. Candy Cane Stripes
Candy cane stripes are a festive favorite. They’re simple to create and look great on any length of nails.
Base Color: Use a white base coat.
Stripes: Create diagonal red stripes using a striping brush or tape.
Top Coat: Apply a glossy top coat to enhance the shine.

17. Peppermint Swirls
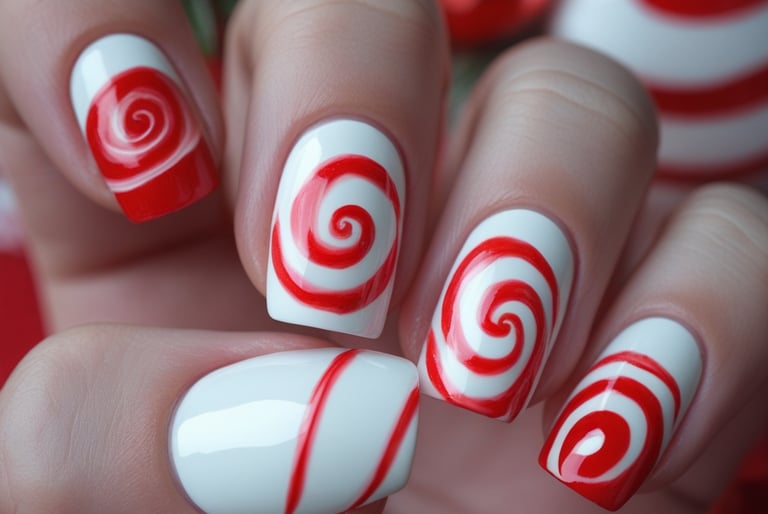
Peppermint swirl nails are sweet and fun. They’re perfect for adding a playful touch to your holiday manicure.
Base Color: Use a white base coat.
Swirls: Create red swirls using a thin brush or nail art tool.
Top Coat: Finish with a glossy top coat to complete the look.

18. Winter Wonderland
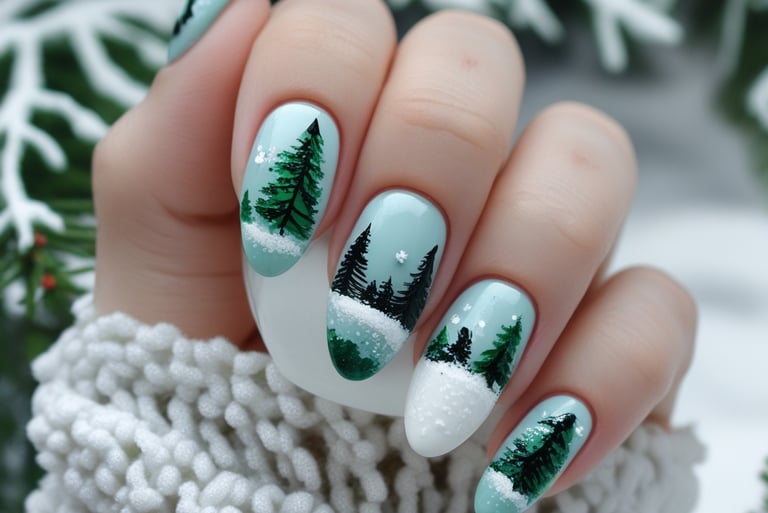
Create a winter wonderland on your nails with snowy landscapes and evergreen trees. This design is serene and festive.
Base Color: Start with a white or light blue base coat.
Details: Add snowy landscapes and evergreen trees with green and black polish.
Top Coat: Apply a glossy top coat to protect your artwork.

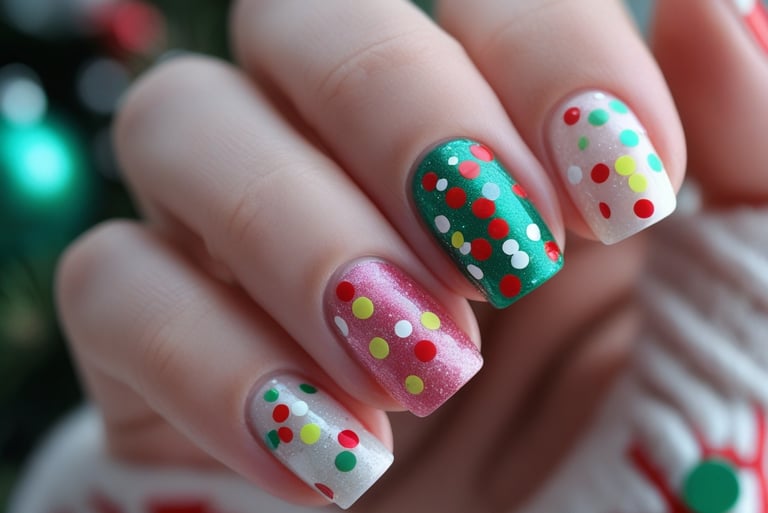
19. Festive Confetti
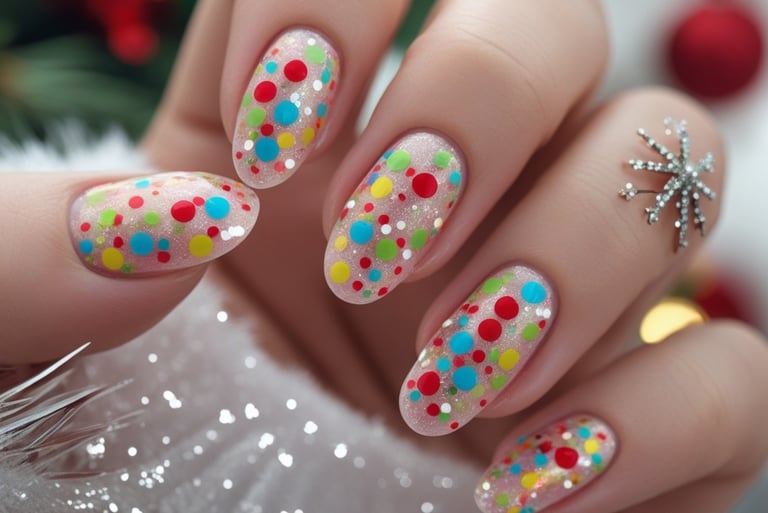
Add some festive confetti to your nails. It’s a fun and celebratory design that’s perfect for the holidays.
Base Color: Choose a clear or light base coat.
Confetti: Add colorful dots or glitter to mimic confetti.
Top Coat: Seal your design with a clear top coat.

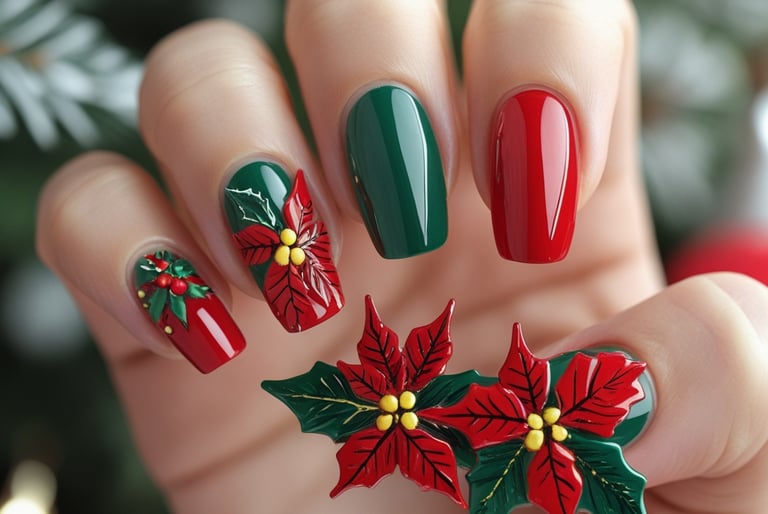
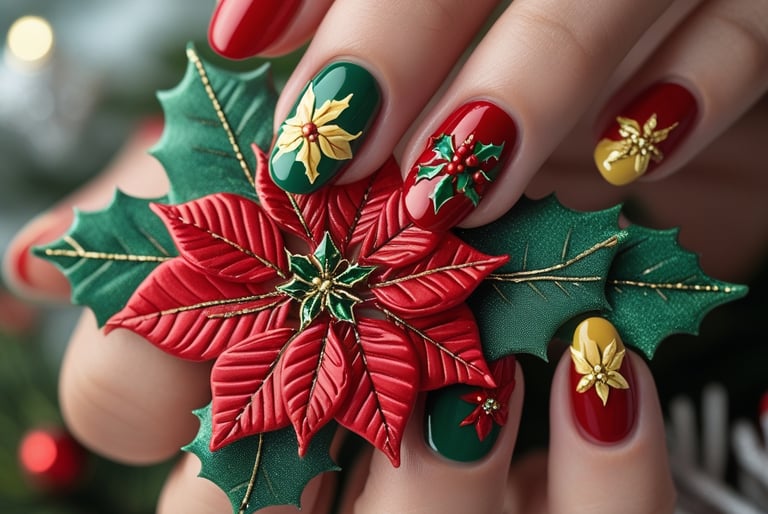
20. Elegant Poinsettias
Poinsettias are a beautiful and classic holiday flower. This design is elegant and festive, perfect for Christmas.
Base Color: Use a light or nude base coat.
Details: Draw poinsettia flowers using red, green, and yellow polish.
Top Coat: Finish with a glossy top coat to enhance the elegance.
